Succulent Plant Frame for Under $5
Jun 11th 2012
Living frames are a great way to get your plants off the ground and grown them vertically. They let you highlight your plants as an ever-changing work of art in the same way that you would display a framed picture inside your house. Although flowering plants are sometimes used in vertical picture frame planters, succulents from Young's are, of course, perfect for this type of project.
The great range of colors and forms in succulents let you create a truly unique work of art. There are several tutorials online that outline how to make a succulent picture frames. I really want to make 2 points with this Young's Garden tutorial that I haven't seen elsewhere.
First, you don't have to use tender succulents to make an amazing living succulent frame. Use hardy succulents (sempervivum and sedum) to make a frame that will live through cold winters and grow year-after-year. I only planted hardy succulents, but there is still enough variety of colors and textures to make it exciting.
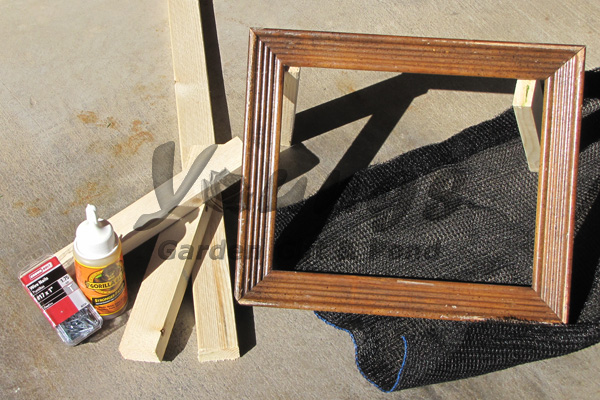
Second, these are easy to make. There isn't only one way to build them. Using certain materials will make the planters last longer (like cedar wood and protective paint), but it isn't required. Just use whatever you have around the house and these can be very cheap. You just need a way to hold dirt behind a frame without it falling out the front. Here's a complete list of the materials I bought and those I used that were laying around:
- Picture Frame - $2.00 at a second hand store
- 1" x 3/4" x 6' board - $1.00 at home improvement store
- Finishing nails, nails, or screws (all work, but screws are best)
- Gorilla Glue
- Garden Fabric (landscaping cloth, weed barrier, shade cloth, etc.)
- Potting Soil
- Clamps
- Paint
- Paint Brush
- Sandpaper
- Hammer or Drill
- Scissors
- Pencil
- Hardy Succulents
Step 1 - Build the Box
This is the part that sticks out behind the picture frame and holds the soil. Cut 4 pieces from your 1" x 3/4" board to fit behind your frame.
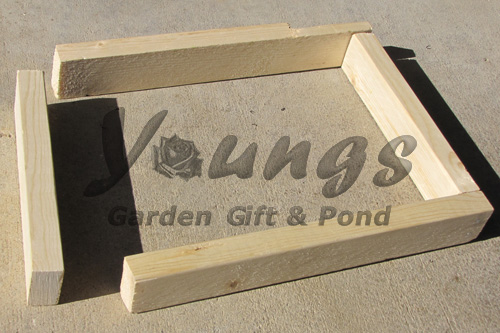
Nail or screw the ends together. so that it forms a box.
Note: I only fastened 3 sides together at this point. I'll explain why later.
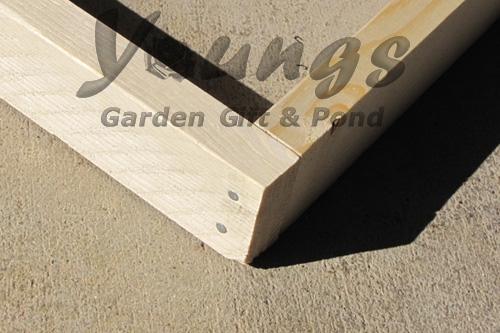
Step 2 - Fasten the Front to the Frame
Apply a layer of strong glue, like Gorilla Glue, to the back-side of the frame wherever you are going to be fastening the box made in step 1. In my case I put glue inside the ledge on the frame where the picture is typically positioned. Be sure to follow the glue's specific directions.
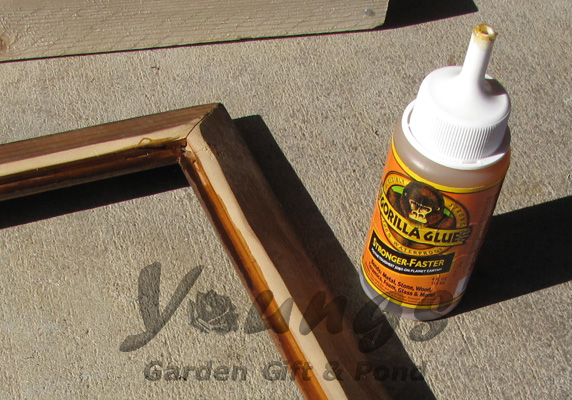
Stretch your garden fabric (in my case shade cloth) over the back of the frame, on top of the glue that was just applied.
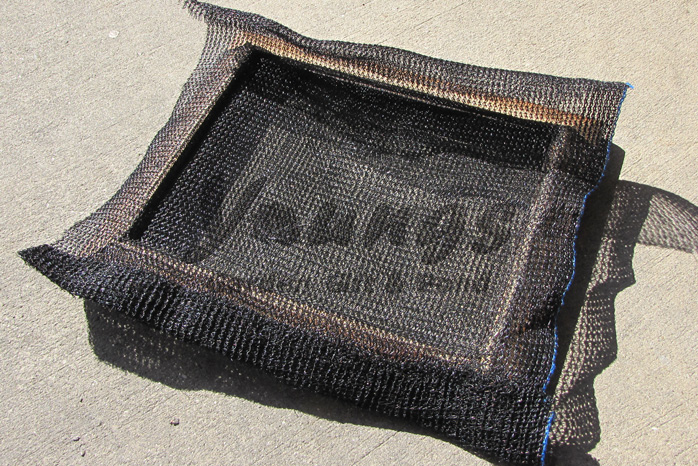
Step 3 - Fasten the Box to the Frame
Now, with glue and front (garden fabric) in place, clamp the box to the glue on the frame. This will form a strong bond between the frame and box. The front garden cloth, glued between the frame and box will also be held tight.
Note: The box could also be nailed or screwed to the frame, but gluing is easy and I didn't want to risk splitting the frame.
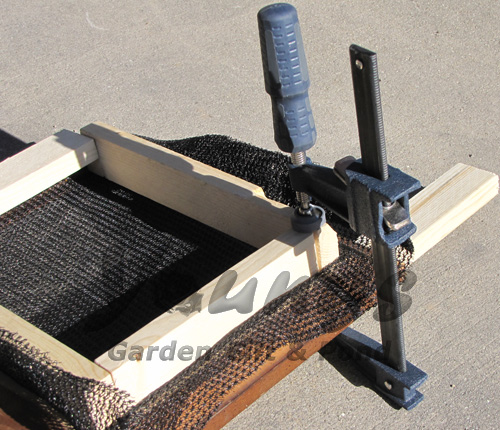
Notes on the Box
I did not glue the top side of the box to the frame. Instead I turned the board sideways to leave a gap for watering. The frame can be watered through this gap with a watering can or with a funnel inserted into the soil.
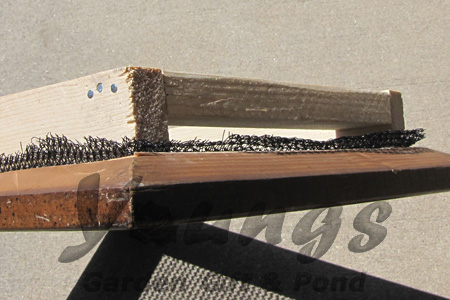
In the bottom side of the box I drilled several holes to allow better drainage of water.
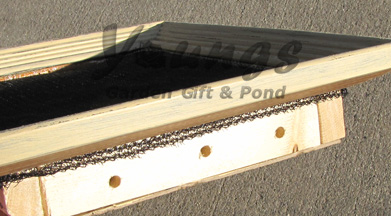
Step 4 - The Back
Turn the frame face down to work on the back. Now is when you will fill the frame box with soil. Since I'm a fan of sphagnum moss, I used a 50/50 mixture of potting soil and sphagnum moss. The moss will help reduce the hanging weight of the planter as well as retain more moisture for the plants.
Once you have filled the frame planter with soil it is time to fasten on the back. You can use the remainder of your 1" x 3/4" board. Cut pieces the width of the box, lay them side-by-side, and fasten them onto the sides of the box. (Mine doesn't look like that because I actually used pieces of plastic lawn edging, but same idea.) Finally, drill a hole in the top center to hang the frame.
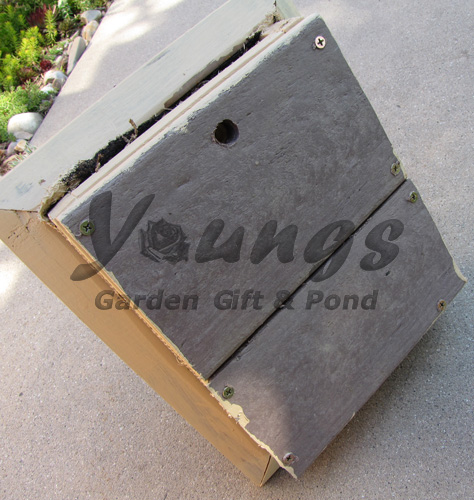
Step 5 - Paint the Frame
There, you've done it! Only one more optional step before planting your living frame. Paint the frame and box sides however you want. I painted the frame and then lightly sanded it for a distressed look.
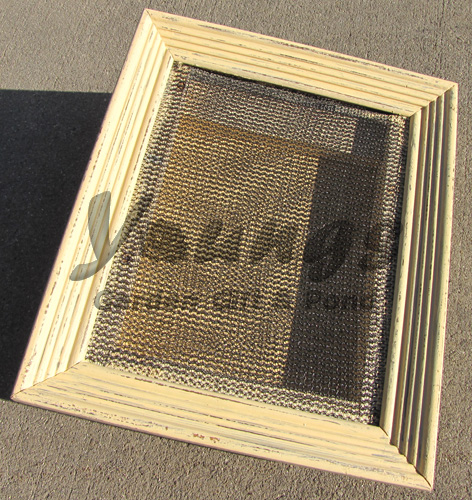
Step 6 - Plant your Succulents
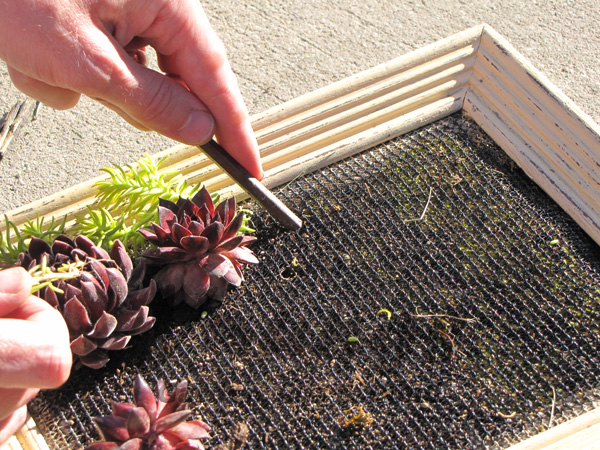
Use a pencil or something similar to poke holes in the garden cloth. This works great for sedum plant cuttings that can easily be inserted into a small hole.
For plants with larger root systems, like a mature sempervivum, use scissors to snip a small hole in the front material. Using the pencil again, gently work the roots through the hole and into the soil.
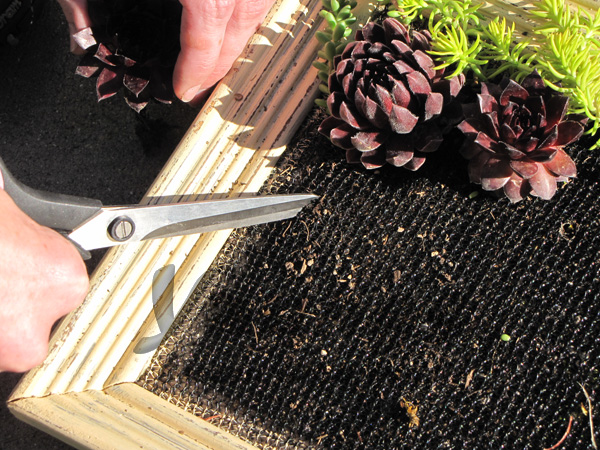
It is easiest to plant if you start in one corner and work your way towards the opposite corner. Position larger plants first and then fill in around them. with small rosettes and sedums.
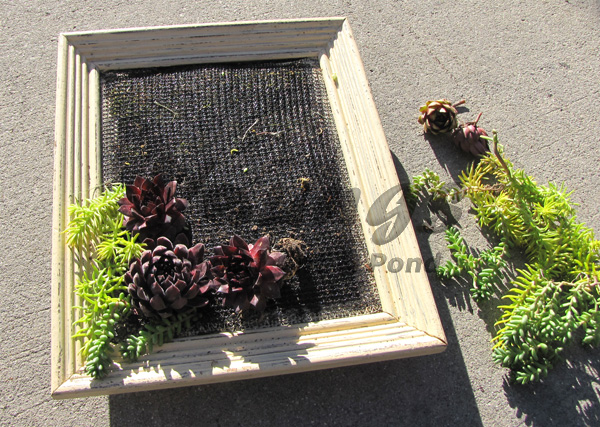
Many people use 1/2" wire mesh or chicken wire for the front. I prefer a garden cloth, like a small piece of shade cloth, because it does a better job holding the dirt in place. It also holds the plants tighter. This means that you can hang up your frame sooner and don't necessarily have to wait several weeks for the plants to root out.
Because your frame does not contain a large volume of dirt, it will dry out more quickly that a regular planter. During the summer don't be afraid to be generous with the water. During the fall and winter it will hardly require any water at all.
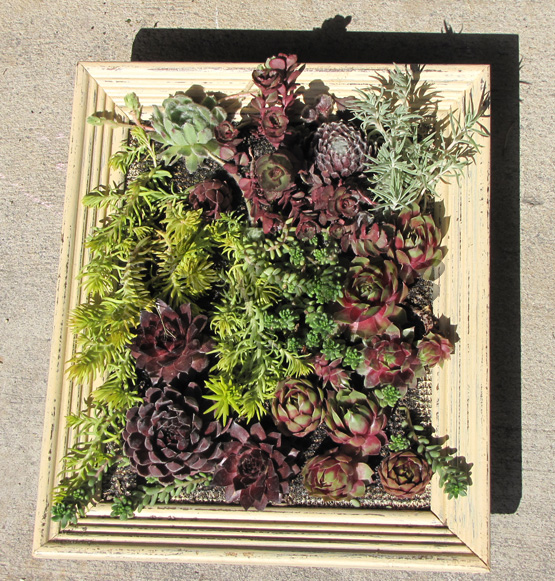
Young's 12 pack of hardy succulents is perfect for creating a frame planter. It includes 6 varieties of sedums and 6 varieties of sempervivum.
A few things to remember: Fill up your picture frame... you might as well enjoy it right away. As the succulent cutting begin to grow they will shrink back slightly before they really start to grow. If some of the garden fabric front is showing, don't worry, it will be covered as plants grow to fill the area. Some of your plants my grow really big and start to take over the frame. Don't be afraid to pull anything out and replace it with another plant. As always, remember to have fun with your succulents :)

